Oct/07/2016: Main Spring Construction, added below.
Oct/08/2016: Grinding the Main Spring, adding the first bend.
Oct/10/2016: Newer Tumbler, 4130 steel.
Oct/12/2016: New Main Spring started, 1095 steel from AZ-Metals.
Oct/17/2016: Main Spring Mounted.
Oct/18/2016: Another Main Spring started.
Oct/19/2016: Main Spring Installed.Full Cock, done.
Oct/20/2016: Made Sparks!
Oct/21/2016: Sear Spring Made, Oops, it broke last night just sitting on the coffee table.
Oct/22/2016: Sear Spring Made #4, ALL DONE!
Jan/22/2017: Updated parts.
May/7/2018: More pictures, Nick.
Note:
For those of you who think this cannot be done by you, let me tell you about the tools I have at my disposal.
1. Drill Press, this one is very inaccurate as the table keeps moving in various directions.
2. Belt Sander, work fine except the disk portion is missing.
3. Band Saw, wood only, works fine.
4. Piles of HF files, hacksaw blades, hobby files, all kinds of hammers and pliers.
5. Books & Internet, invaluable resources for "going back to school".
That's it folks. Not much in the way of tools. Determination is the best kind of tool. Figuring out how to get the job done is the creativity part, the rest is play.
I decided to start a lock from total scratch, except the screws.
I have enough metal pieces to at least get started, minus the screws.
These are hand cut (think hacksaw) from the steel and filed (piles of metal shavings) to shape.
Here are two pieces so far.
Plate is 1/8 inch thick steel, unfinished.
Cock is 1/4 inch thick steel not formed but still in raw form.
I like these two patterns below as a point to start
Probably will be a combo of both plate designs, etc.

Sept/30/2016
Starting Imagination

Seeing if it matches, so far.

Just playing with engine-turning. Yes it's crooked.
Bottom half of the cock is now thinned to allow for the cock stopping on the backing plate, someday.

Oct/01/2016
Pan attached, crudely, low-temperature plumbers solder. The pan will get a lot of "trimming".
The frizzen is a too soft one with a piece of saw-blade riveted on and hardened. Frizzen will be ground down to fit the pans width.

Black sharpie marks where the flash guard goes and where brass will be removed.

Black sharpie to mark trimming areas.

Next: The tumbler and it's tool. An old file can make a tumbler mill.
Various types and instructions here: Tumbler Mill types and tutorials
Oct/02/2016
Tumbler, Bridle.
Tumbler made ala "JACO" style, 3/16 inch thick plate with 5/16 shafting, roll-pinned together.
Tumbler inner shaft turned on the drill press with a file.
Bridle is 1/8 inch thick sheet steel. Screws are 6-32US.
Frizzen screw is 8-32US.

Oct/04/2016
Added:
Cock (hammer), tumbler.
Tumbler screw is 4-40.
Hammer/flint screw is 6-32 socket head.

Bridle, beginnings of the sear. Sear will be made from old pliers handle, drop-forged steel.
My initials and year: "PTB '16".

Oct/05/2016
Fuzzy picture, sorry.
Sear handle finished. Sear notches and sear nose will not be finished right now.
I will begin to cut the main spring strip, 1/8 inch thick, 1/2 inch wide and 5 inches long.
This piece will leave plenty of material for filing mistakes, etc.
Strip will be out of truck leaf springs.

You may see a lot of mistakes in this lock. Remember, this will be my first complete lock and a very instructive learning experience.
Oct/06/2016
Top jaw piece and frizzen spring.
I did a lot of fancy file work on the frizzen spring screw mounting area. After tempering that spring, I noticed that the file work was on the back side, bummer.
Top jaw needs some more "refining" but it should work.
Picked up some more hacksaw blades today, will need them to cut free that main spring piece.

Story:
I purchased two hacksaw blades from the local Ace Hardware store, $3.79 including tax. After about 10 swipes while cutting mild steel the first blade became very dull and would not cut anymore. I will be taking these USA made blades back to the store.
Oct/07/2016
Manual Hacksaw Cutting Main Spring Piece (sore arms here and I need the exercise)
Spring Steel (truck helper spring) 3/8 inch thick, softened in the barbeque overnight.
This piece to be cut free will be about 5 inches long and about 1/8 inch thick, probably thicker on one side due to hacksaw blade twisting.

The beginning of sore arms and sweating as it's only 100F today.

Decided to us up that single cobalt 1/8 inch drill bit.

Finally free, now for the large belt sander and a dust mask.

Oct/08/2016
Belt Sanding the main spring blank.
Worn 80 grit belt makes tons of sparks.
I must remember to leave enough width for the spring stud.
So far the blank is tapered on all sides.

Red Heat Bending the curl.
Approxinated the curl at the working end, not finalized yet.
Needs a bit more drop at the point.

Combination View

========
Well, after red heat bending the spring and beginning to file for the stub, the spring broke.
Starting over.
Oct/10/2016
The tumbler was too soft. I took a slice of hammer forged barrel stub (4130, thanks Chuck Kramer) and made another tumbler. This steel is tough stuff. Also made the inner tumbler bearing area (about 1/4 inch) larger as I got tired of turning down shafts in a drill press.
Picture with the bridle removed.

Oct/11/2016
1. Brazed up that old sear, it works. Cut the full cock notch.

2. Brazed up that broken main spring at the bend. Filled the inside of the bend. It held, but broke somewhere else as I forgot to fully heat treat it. But it held! Yay for brazing.
Oct/12/2016
Went to the local metal market, AZ-Metals where I picked up a strip of 1095 steel, 5/8 inch wide, 1/8 inch thick, 12 inches long for less than $8 including the $5 for the cut. This will give me two springs, if I mess up on the first one. It is not yet tempered as it needs a lot more "fancying up". The stud is 1/8 inch round. It would be nice if the fold was flatter.


Oct/17/2016
Main Spring mounted, two studs. Reason: The brass pan is only soldered on and the solder joint may not take the strain of this main spring pressure. Now to fit the spring to the tumbler.

Oct/18/2016
OK, that one broke also.
I got it installed but I could not pull the hammer past half-cock, way too stiff.
In the action of removing that spring, it broke at the bend.
Looks like I will be ordering a spring vise from TOTW. (Done, Oct/19)
In the process of making another spring, hopefully this one will last. If not, then I'll get some 1075 steel.
The tumbler+shaft has been roll pinned for safety and security.
Oct/19/2016
The Kit Ravenshear books arrived. Kit Ravenshear Books
I received springs, crafts 1 & 2. Need to get the metal and wood books next.
Main Spring Installed.
The arch is a bit too tall and keeps the full-cock notch from engaging. That's OK, the arch toe can be ground back a bit to lower the arch and the bridle boss (left screw) can be trimmed back a bit. That should work.
On the workbench on top of a paper rag.

Hard to take this picture holding back a main spring at full cock, so it's fuzzy.
Here this picture shows where the arch hits the bridle boss. Arch does not hit the pan.

Another shot in daylight. Rest Position.
Looks like the bridle needs another mounting screw and it will be just to the right of the "3" probably the sear spring mounting location. Main spring tries to rotate the bridle and bind the tumbler and shaft.

I will let this spring sit and ocassionally flex it a bit. I won't use it to make sparks yet but force the spring to get used to moving in and out.
Full Cock Working
Main spring does not hit anything at full cock (Yay!). Modifying the bridle boss gave the clearance. Third screw installed, will be used for the sear spring and bridle support. Half-cock will be next. Tightened up the bridle bearing hole, was a teensy bit loose.
Ordered more Texas flints from Neolithics.com.

Oct/20/2016
Made Sparks! Woo-Hoo! White Chert that comes out of Oklahoma
Half-cock notch installed.
Made a sear spring from an old hacksaw blade, broke the first use, right at the bend. Need better thin spring steel.
Almost done.
Oct/21/2016
Sear Spring Made, after two broken ones.
Front View, more stars.

New sear spring, it actually works.

Odd Angle Views

Sear Spring wraps around the middle bridle screw.
Corner of bridle holds the spring down into it's little notch.

It does spark but not a lot. The frizzen face can be refaced with some of that 1095 steel left over.
Now to make another rifle, I have the wood for the stock, just need a barrel, etc.
Oct/22/2016
#4 sear spring from blue spring steel. It also limits upward sear travel.
Let's see how long this fourth spring lasts. :-)


Jan/22/2017
Updated parts.
After a consult with a local flintlock guru, I strengthened the frizzen spring.
Done by heating the bend and pulling it out another 1/4 inch more.
Also refaced the frizzen (again) with a slice of old table saw blade.
The refacing was done as thus:
Cut a slice of a used table saw blade. Shaped it to match the curve of the frizzen face.
Tempered it to full hard, no drawback. JB-weld'ed it to the frizzen.
It works much better and makes many more sparks.
Tomorrow I will finish the shaping of the new face.
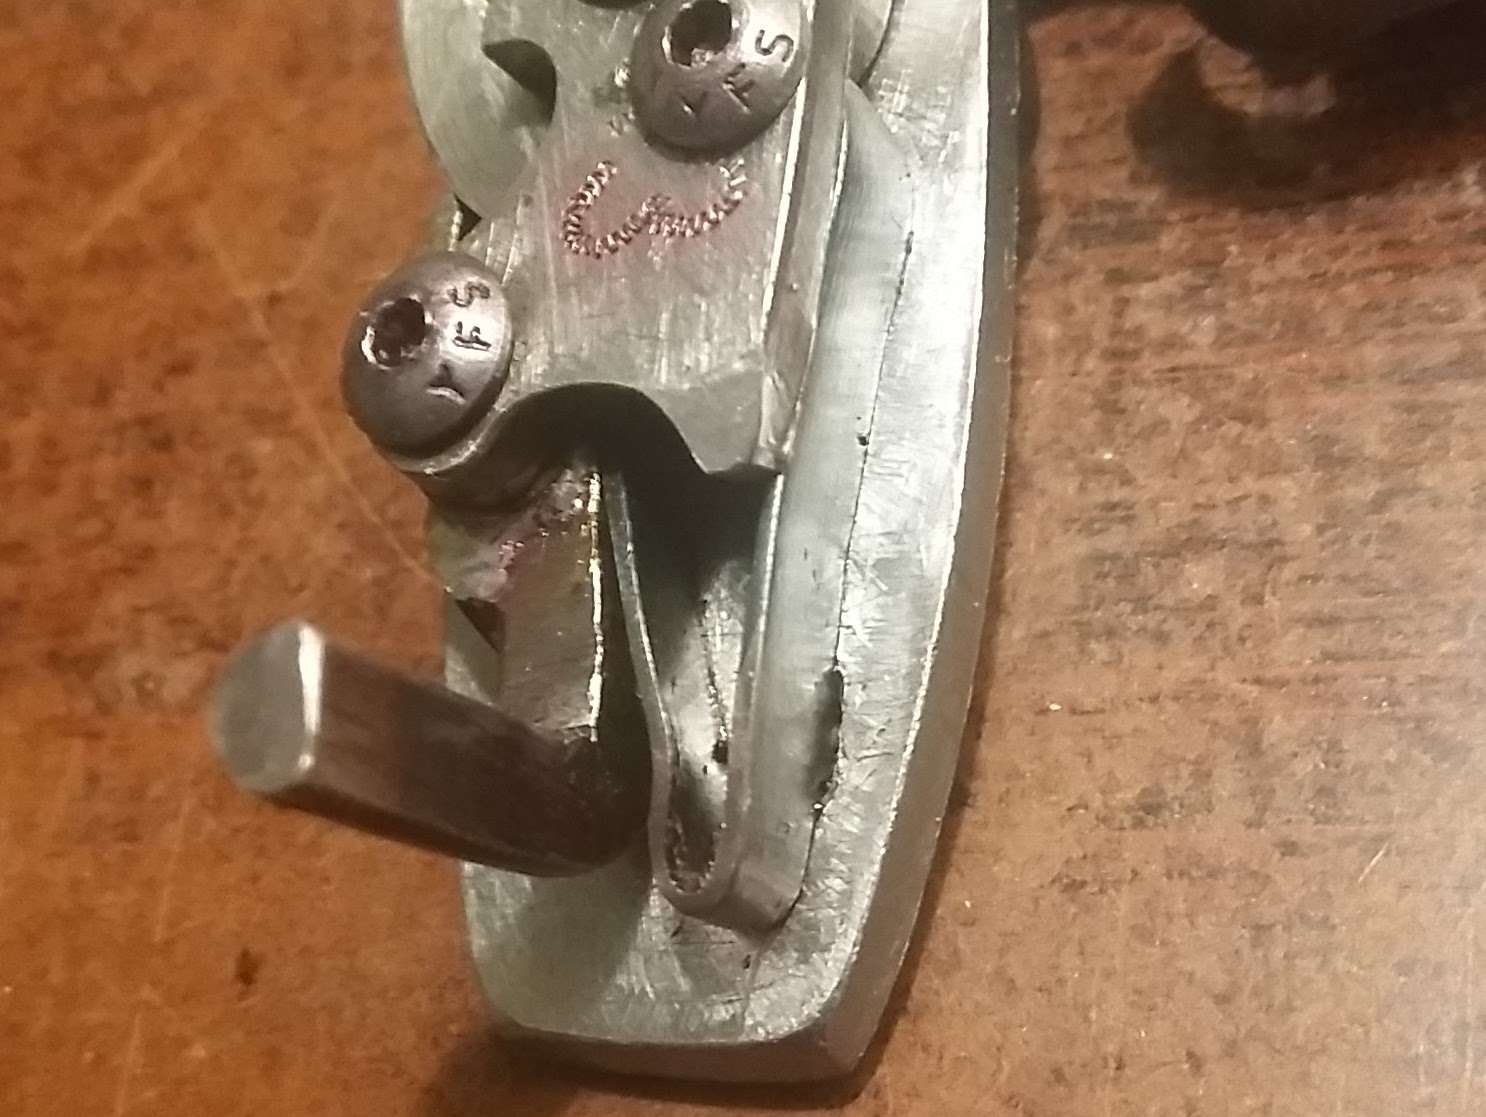
May/7/2018:
Sear spring Notch. Sear spring is held into that notch by the bridle's point.

Another view.
IdeZilla
Comments Welcomed