I have received a parts kit for the lock from Gustavo Hoefs.
The Parts as received:
Now to decide if it will be a pistol or rifle. (Pistol)
What it should look like: (Photos courtesy of Gustavo)
Example:
Not shown is the main spring wedge.
Example: Shows the high trigger pivot location, Thanks to Gustavo.
Example: Gustavo's "Pistol".
Oct/23/2017 Progress
Sear and sear parts mounted.
US 4-40 screws used along with 1/16 inch diameter brass rod for the pivot pins.
It works smoothly. The sear spring not tempered as yet so I don't play with it much. Sear spring needs a slight arch to keep it tight to the plates backside. It was a lot of "fun" fitting the round half cock pin to the plate.
Cock not mounted here.
Frizzen not mounted. The frizzen spring plate notch is a bit too large so it will be "shrunk" for a tight frizzen spring fit. Frizzen and Main springs will be pinned on the backside of the plate, no screws.
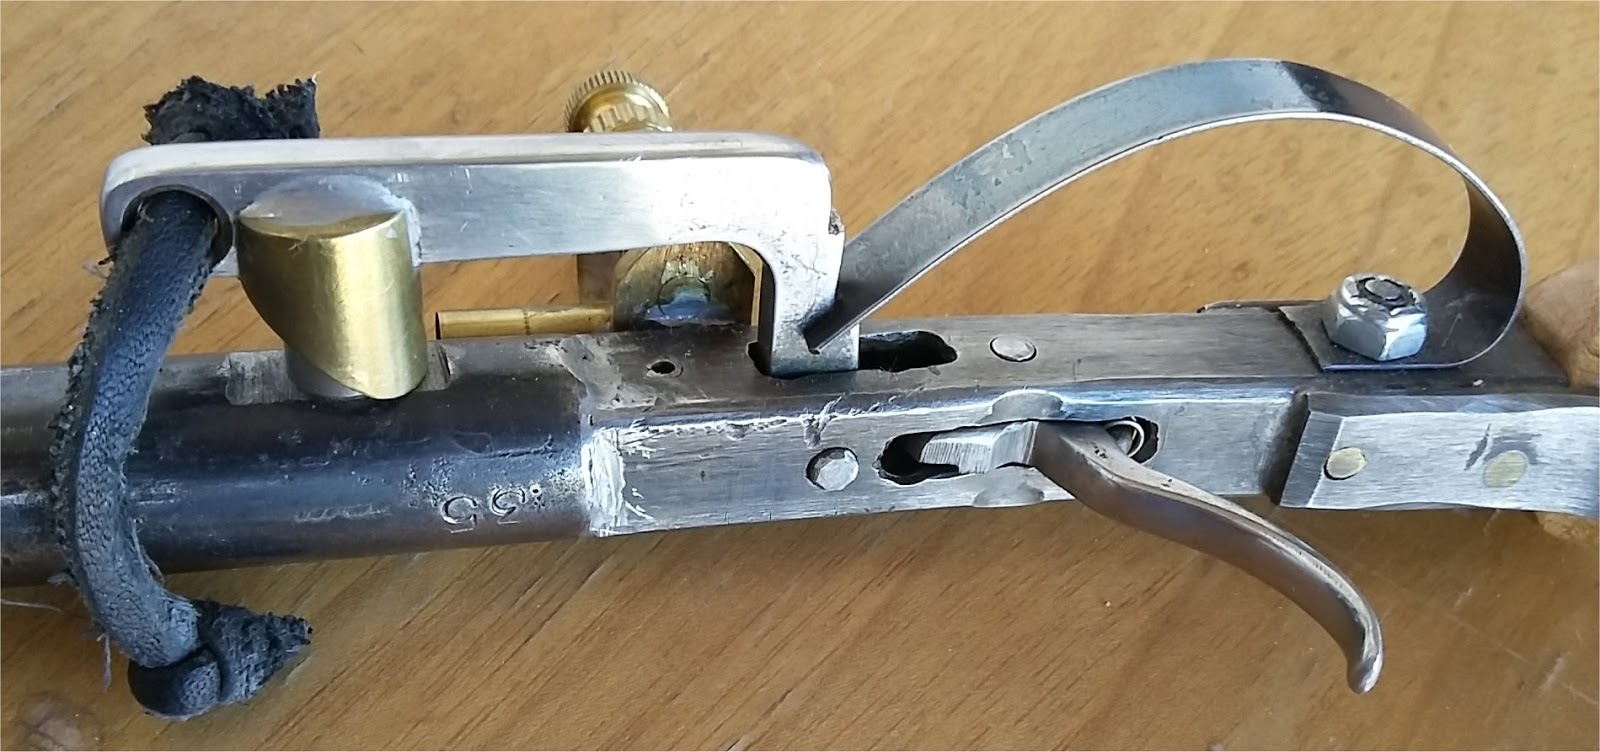
How much those two cocking parts protrude from the plate. They are currently too long.
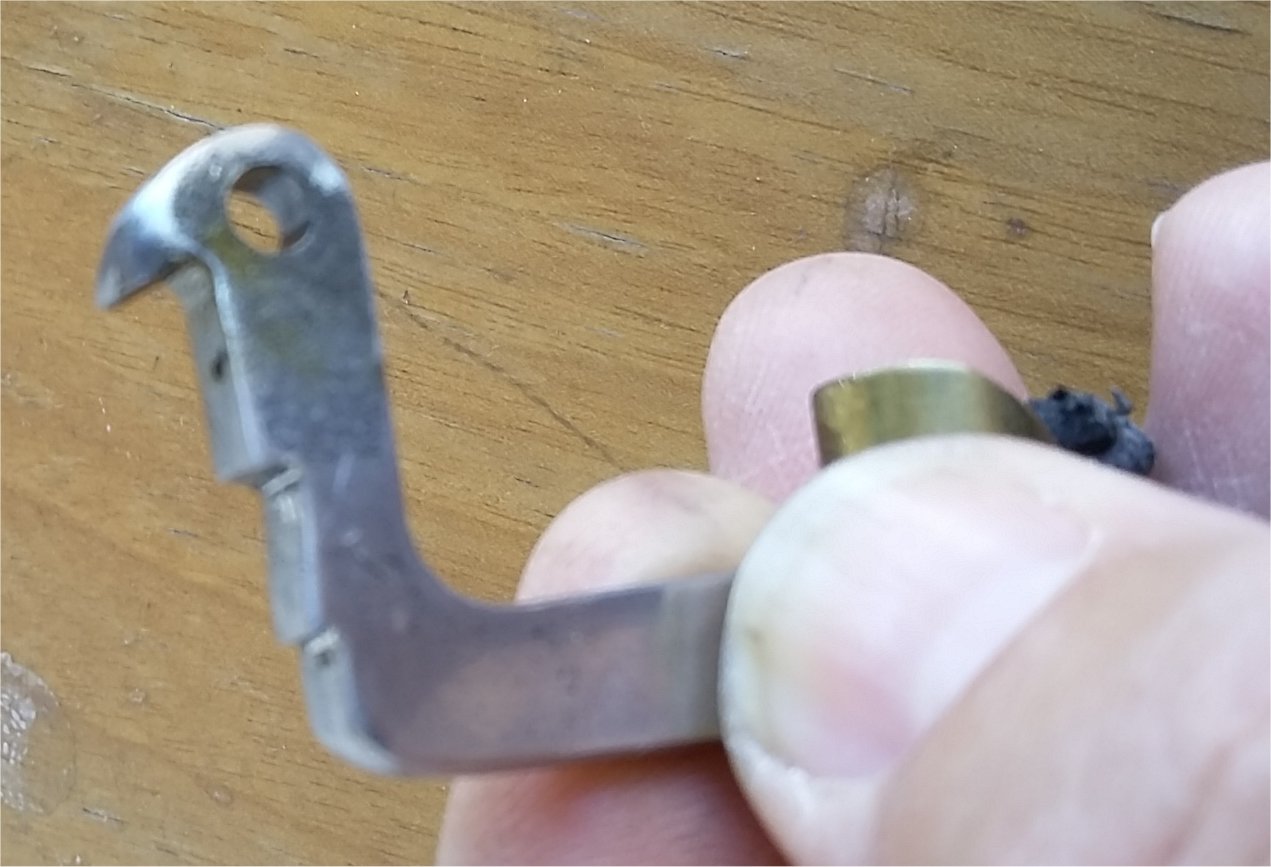
The round one is half-cock and it has a notch to prevent firing in this position.
The upper shelf is full cock, a part of the sear spring.
As the sear gets pulled back by the high pinned trigger, the half-cock round pin just clears the plate before the full cock shelf moves out of the way. Nice.
The as cast threads on the cock support threaded portion (US 6-32) was not useable, so I plumber soldered it to the plate.
(Sorry Gustavo)
This will impede the installation of the main spring, bummer. I will figure this out later. Maybe tap it for a 4-40 screw from the backside.
Cock at full CW rotation, the foot hits the support. Cock pivot is a temporary black Allen 8-32 this one needs to be a shoulder screw..
Oct/24/2017
Progress:
Added the frizzen and spring. The spring required a thin brass shim just under the spring base (slot was too large). Frizzen is not hardened. Frizzen has a foot that limits forward travel. That frizzen spring is really strong.
The half cock pin required a slope on the left side so that the cock can slide over it during any cocking, ditto to the full cock left corner.
French amber flint?
Oct/26/2017
Update:
Main Spring slots were too loose, so two pieces of brass were soldered into the slots to rotate the main spring clockwise. Here is one of those brass inserts: The other one is on the top edge of the right slot.
Now seen are the two brass main spring inserts. And a slice of 5cents for the main spring wedge.
The next item was how to remove the main spring with the cock support permanently attached. I cut a slice of steel rod, D/T 6-32, screwed it to the plate then plumber soldered it. I left half of the internal threads on the slice to allow the support to be attached with another 6-32 screw. Yes, those screws are ugly but it works and the support is removable.
Another item is the frizzen spring. It decided to be twisted and the frizzen is not yet hardened. More work here.
Full cock.
Half cock.
Fired. The cock foot hits the steel block. That block is probably too big here but "file adjustable" as the cock needs to drop more (CW). Still missing is the pan extension piece which widens the pan and provides a bit of frizzen spring coverage.
Oct/27/2017
Frizzen hardened, toe slightly shortened, frizzen spring straightened.
Frizzen is slightly concave, probably due to the cooling period just after casting.
It sparks.
Oct/30/2017
Stock, Canary Wood (Yellow)
Barrel, 0.50 cal, no plug yet, maybe a hook breech if there is room.
Nov/3/2017
Lock. Stock. Barrel. Trigger.
Very rough stock. Will be cut short about 1/8 inch behind the muzzle.
Lock in but needs more tweaking. Inlet is a bit high.
Barrel is not done.
Trigger (not shown) is a piece of 5/16 inch steel rod pinned right at the cock pivot location in the stock. It has a lot of movement to let the lock fly, about 1/2 inch or so.
Nov/4/2017
One coat of Tru-Oil.
Barrel plugged 5/8-18 and touch hole insert done.
Tang next. Probably will use a barrel band for the front.
Trigger is a bit tall, probably will shorten it or just move it up.
Looking for a trigger guard.
Need to make a trigger plate to guide that trigger and limit it's travel.
This wood has lots of Brown, Orange and Yellow highlights not shown here.
Nov/06/2017
Frizzen re-hardened with Cherry Red compound.
Trigger shortened.
Working on a hooked breach, no pix yet.
Nov/07/2017
Hooked Breech in but not finished.
Trying to decide for a barrel band or pinned barrel.
After 3P.M. - Barrel Band:
Band cut from a large sheet of brass door kick panel.
This lock sparks even with a beat-up French flint.
I put a charge into the pan and lit it off, Yay!
My in-letting isn't so great and this wood tends to splinter, likely excuse. :-)
Single screw mounting.
Here can be seen some of the multi-colors in the wood.
Soldered overlapping ends with plumbers solder.
Nov/11/2017 Veterans, Thanks for your service!
Blued the barrel and other parts. Those two brass dots are scope hole fillers, whatever :-)
Added the pan piece that decorates only. Temporary 4-40 screw.
I re-hardened the frizzen again, with two doses of "Cherry Red". Left the striking surface full hard and drew back the cover area to prevent breakage. Better sparks but not necessarily directed to the pan. The frizzen does not open more than this photo. I would have to grind under the pan to get the frizzen to open more. I may also open the pan area like a pear shape.
Nov/11/2017: Tested on Nov/12/2017
Enlarged the pan pocket, to the rear only. Compare to above picture.
It now flashes the pan charge, 3 for 3 times, excellent. And with a dull flint, amazing!
Nov/13/2017
Display Stand:
Canary wood base (same piece as the stock).
Garage-Sale antler piece ($1).
Cut butt of antler free for powder measure.
Drill the antler base for a measure.
Drill base and antler for a single sheet-rock/dry-wall screw at funny angles ( not fun :-).
Then added a 1/4 inch diameter post for the powder measure.
Probably will put a finish on the base of some kind.
Nov/16/2017
Target on Frame at the Range.
First hole left of center in the frame (oh no).
Apparently I was shooting way over the target frame as evidenced by the frame holes.
I went through 20 shots, 30gr of Goex FFFg, tick patch, .490 RB.
Remember: no sights on the pistol. :-)
I count 9 hits on the target frame some on the target, ha ha ha.
I checked the patches, some were cut and some were just fine and re-usable.
Nov/18/2017
Trigger Guard.
Put together on the 17th. with plumbers solder. The rear piece was riveted with a 1/16 inch brass rod piece. The loop is a bit larger than I expected but looks OK.

Inlet today the 18th.
The small area where the branch was took more cutting than I suspected. The branch and the surrounding area was extra hard.
I cannot countersink the front hole (ARGH!) as it's too close to the loop. So maybe a round head screw is proper.

Nov/22/2017
Hand made trigger guard, half-cock, Dove feather in touch hole. Looks to be done. 1/16 inch diameter brass pin for front sight, bent & notched brass sheet for rear sight (behind hammer). Antler 30gr powder measure stored on a post.
I may try to add brass bands in the barrel for looks, maybe.
IdeZilla
aka BartSr
Comments Welcomed